
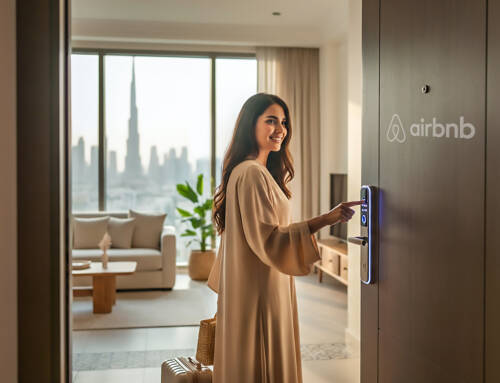
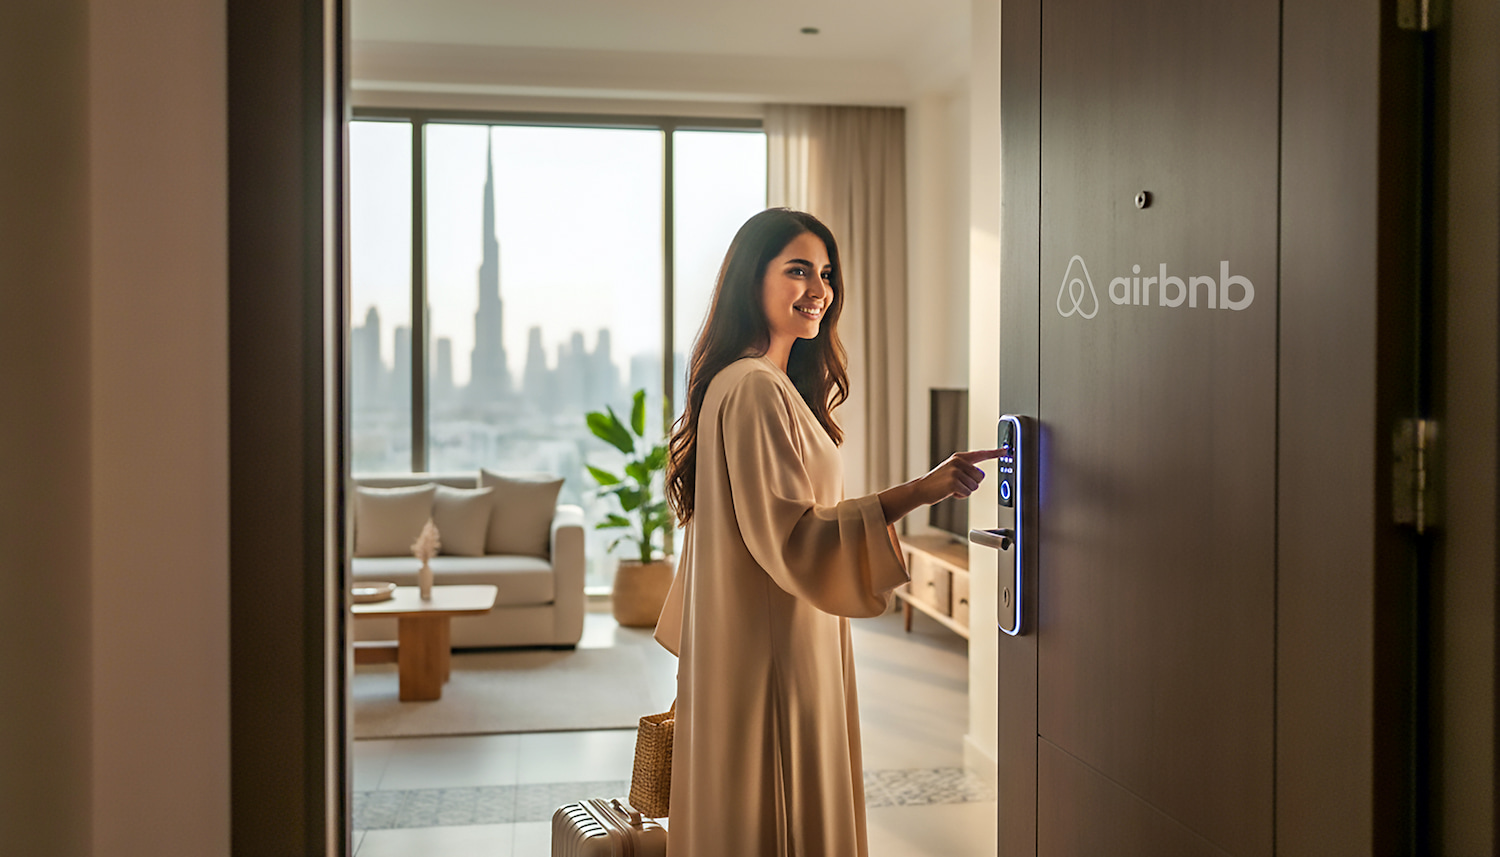
The Art of Airbnb Photography: Capturing the Perfect Stay
High-quality photos are the cornerstone of a successful Airbnb listing. They’re the first thing potential guests see, often determining whether they’ll book your space or keep scrolling. In a competitive market, professional-grade images can make your listing stand out, boost bookings, and even justify higher rates. Here’s a guide to mastering Airbnb photography, from equipment to styling and editing.

Airbnb Photography – Bedroom

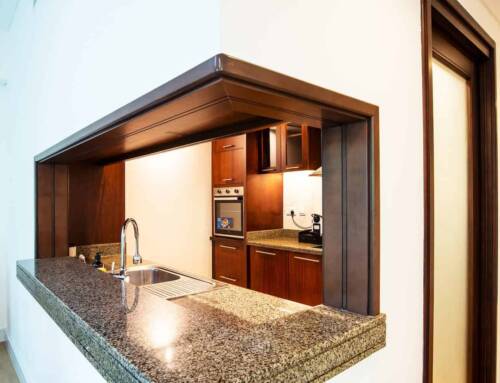
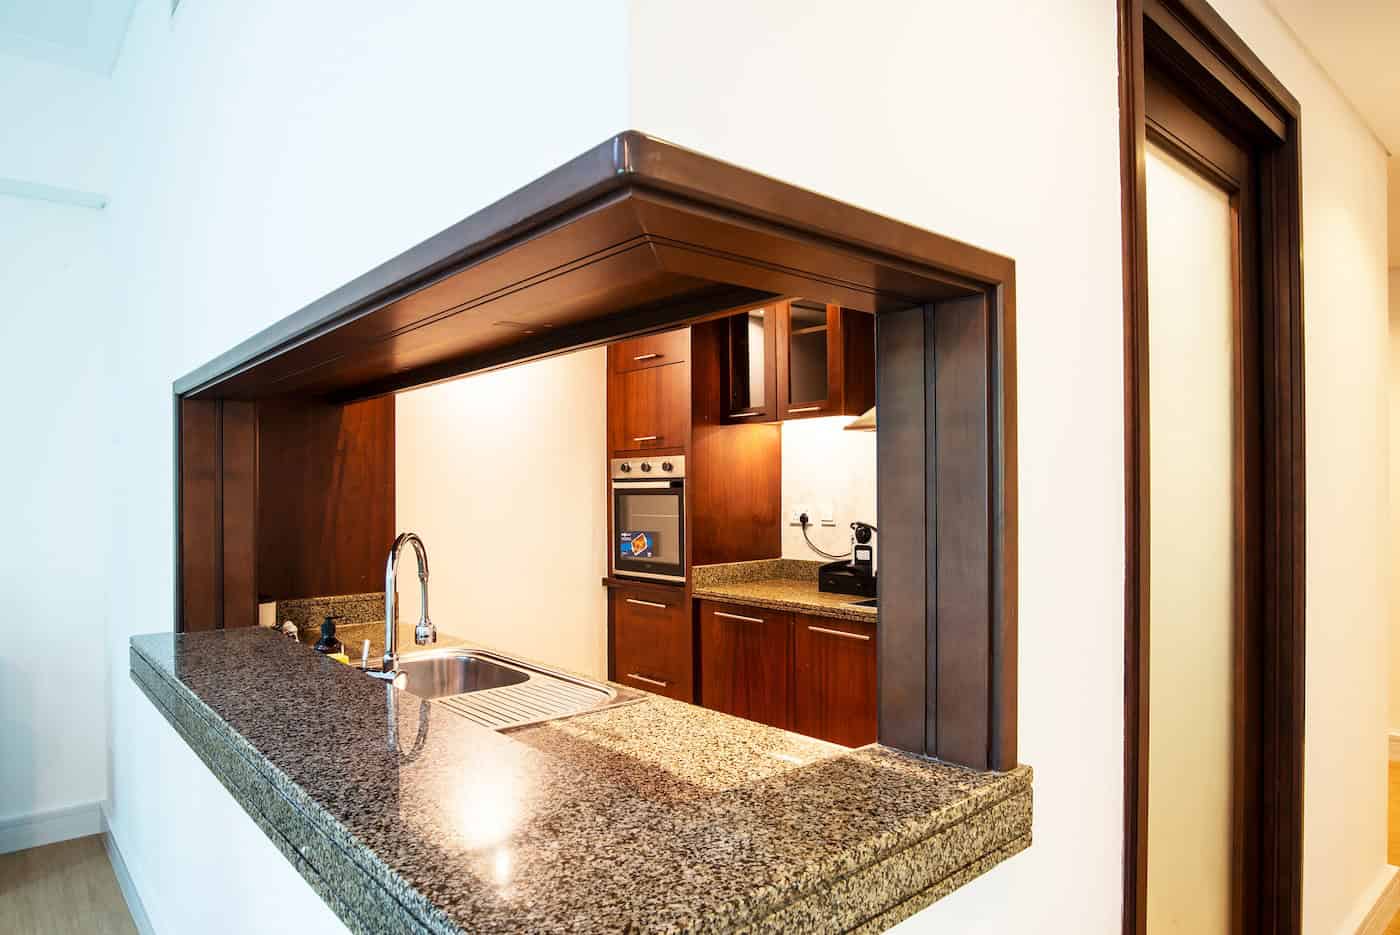
AirBNB Photography – Kitchen

Airbnb Photography – Living Room
Why Airbnb Photography Matters
Photos are your listing’s first impression. According to Airbnb, listings with high-quality images can see up to 40% more bookings and command rates 20-30% higher than those with subpar visuals. Guests want to visualize their stay, and blurry or poorly lit photos can erode trust. Your goal is to showcase your space’s unique charm while being honest about what guests can expect.
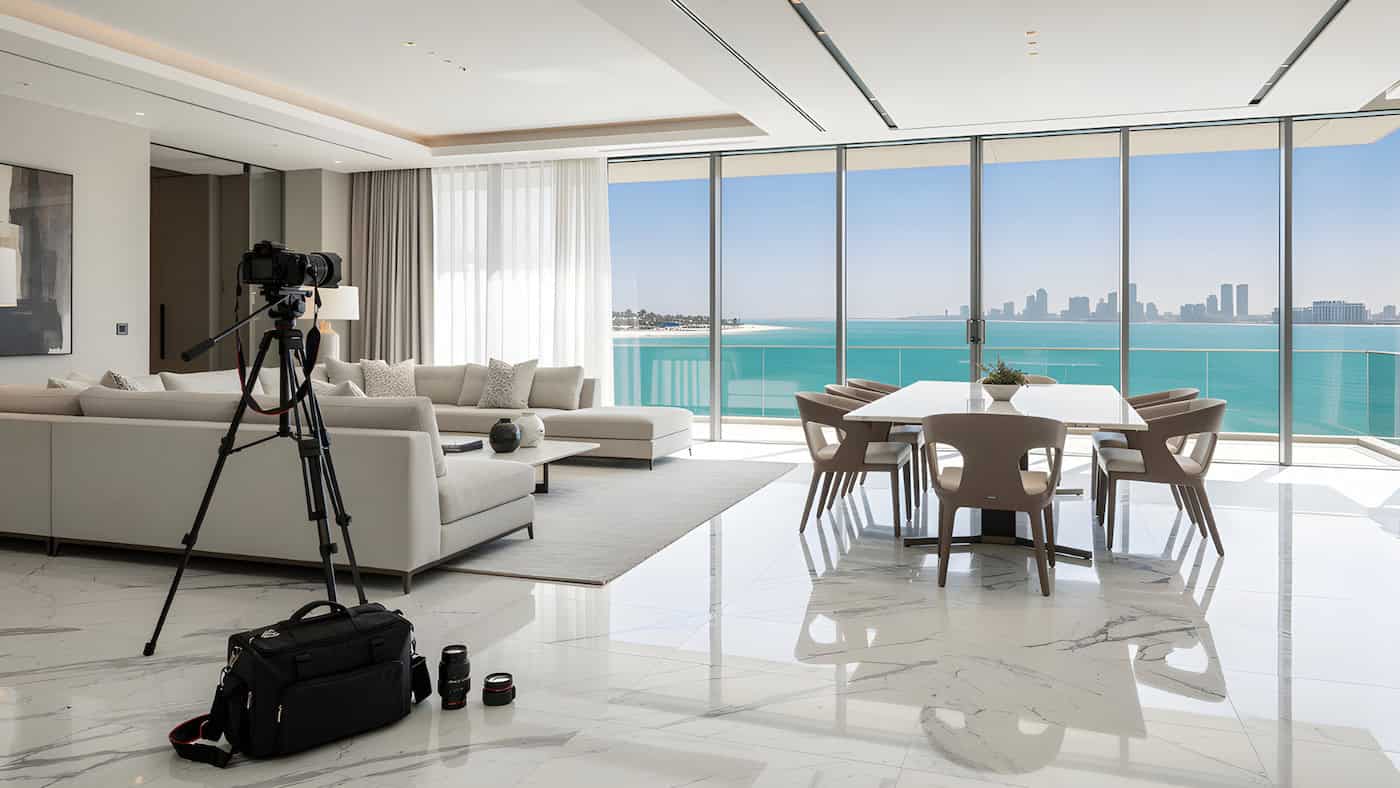
Essential Equipment for Airbnb Photography
You don’t need a professional studio setup, but the right tools make a difference. Here’s what you’ll need:
Camera: A DSLR or mirrorless camera with a wide-angle lens (16-35mm) is ideal for capturing spacious interiors. If you’re on a budget, modern smartphones with good cameras (like the iPhone 16 or Samsung Galaxy S24) can work well.
Tripod: Stabilizes shots, especially in low-light conditions, ensuring crisp images.
Lighting: Natural light is your best friend, but softbox lights or ring lights can help brighten darker spaces.
Photo Editing Software: Tools like Adobe Lightroom/Photoshop or free alternatives like GIMP let you enhance brightness, contrast, and colors.
Tips for Stunning Airbnb Photos
1. Stage Your Space
A clean, decluttered space is non-negotiable. Remove personal items, excess furniture, and anything that distracts from the room’s appeal. Add tasteful touches like fresh flowers, neatly folded towels, or a cozy throw blanket to create a welcoming vibe. For kitchens, a bowl of fruit or a coffee maker can add warmth without clutter.
2. Maximize Natural Light
Shoot during the day with curtains open to flood rooms with natural light. Avoid harsh midday sun, which can create stark shadows — early morning or late afternoon light is softer and more flattering. If a room lacks natural light, use soft artificial lighting to mimic it.
3. Use Wide-Angle Lenses Wisely
Wide-angle lenses make rooms appear larger, but overuse can distort spaces, making them look unnatural. Stick to a focal length of 16-24mm for most interiors. Shoot from corners to capture the full scope of a room, and keep the camera at chest height to avoid awkward perspectives.
4. Highlight Unique Features
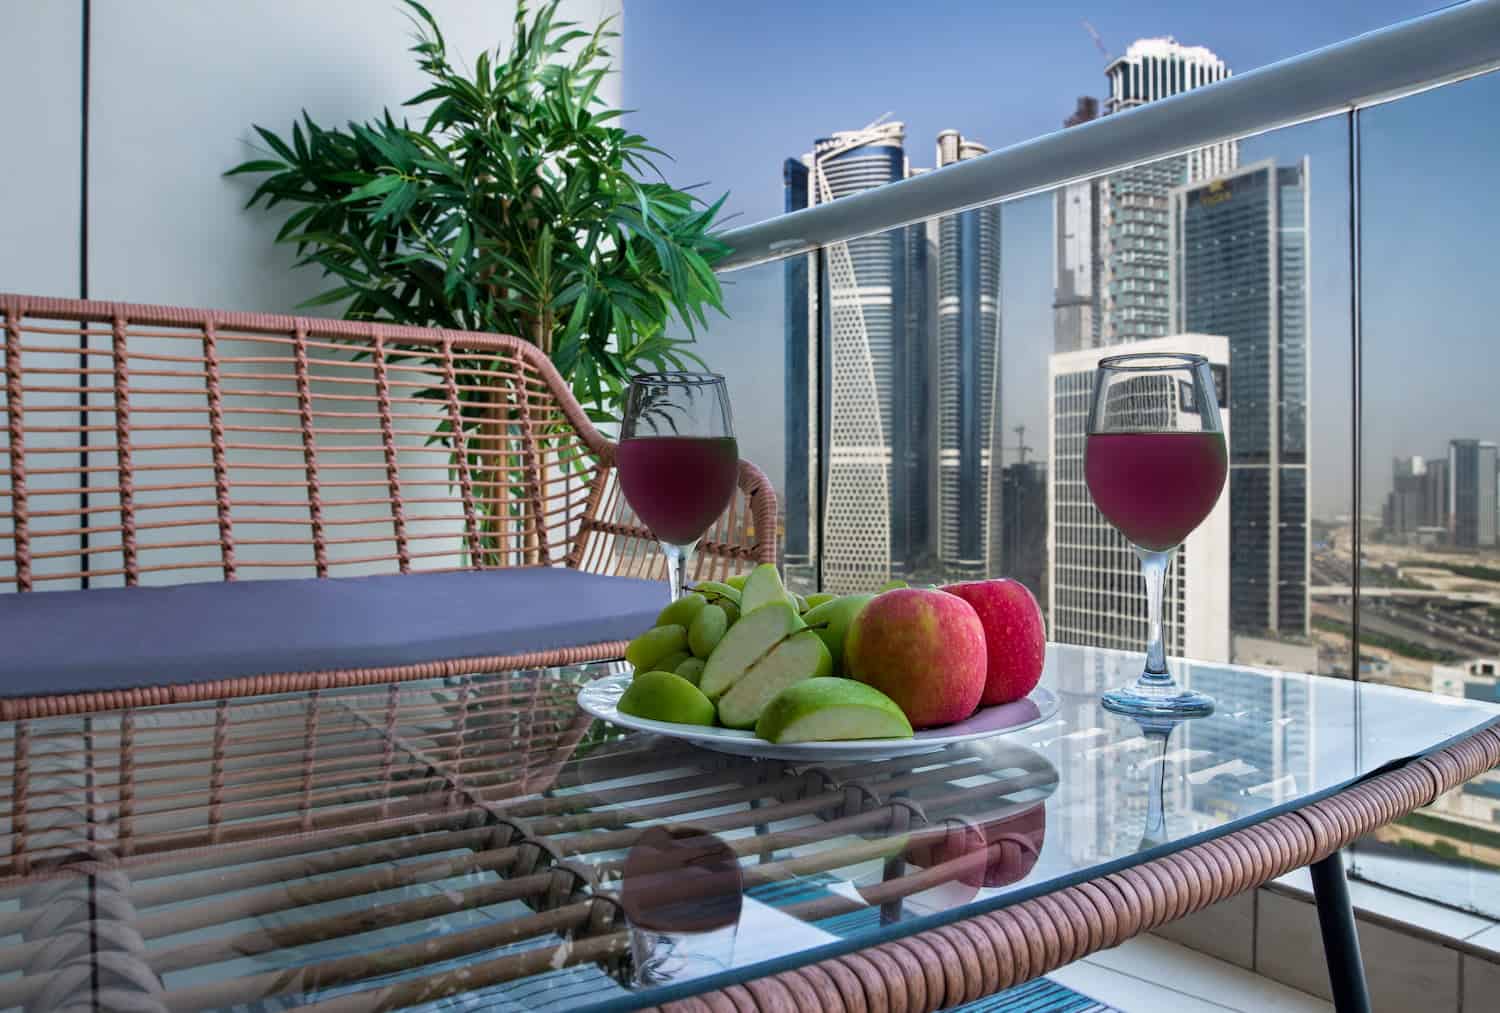
Does your listing have a cozy fireplace, a stunning view, or a quirky reading nook? Make these focal points. For example, a photo of a balcony with a sunrise view can sell the experience better than a generic bedroom shot. Include at least one exterior photo to give context—guests want to see the property’s surroundings.
5. Shoot from Multiple Angles
Capture each room from different perspectives to give a comprehensive view. For a bedroom, include shots of the bed, a corner with a nightstand, and any unique decor. Aim for 20-30 photos total, covering all key areas: living spaces, bedrooms, bathrooms, kitchen, and outdoor areas.
6. Keep It Honest
Avoid over-editing or misrepresenting your space. Guests will notice discrepancies between photos and reality, which can lead to negative reviews. Use editing to enhance, not deceive, adjust brightness, contrast, and saturation to make colors pop without altering the space’s true look.

Airbnb Photographer – Bedroom

Airbnb Photographer – Kitchen

Airbnb Photographer – Dining Area
Editing for Impact
Post-processing can elevate good Airbnb photos to great ones. Use software to:
Correct exposure and white balance for natural-looking colors.
Straighten lines to fix lens distortion (especially with wide-angle shots).
Remove minor blemishes, like a stray cable or wall mark.
Enhance vibrancy without making images look artificial.
Free tools like Photopea/Fotor or mobile apps like Snapseed are great for beginners, while Adobe Lightroom/Photoshop offers more control for advanced users.
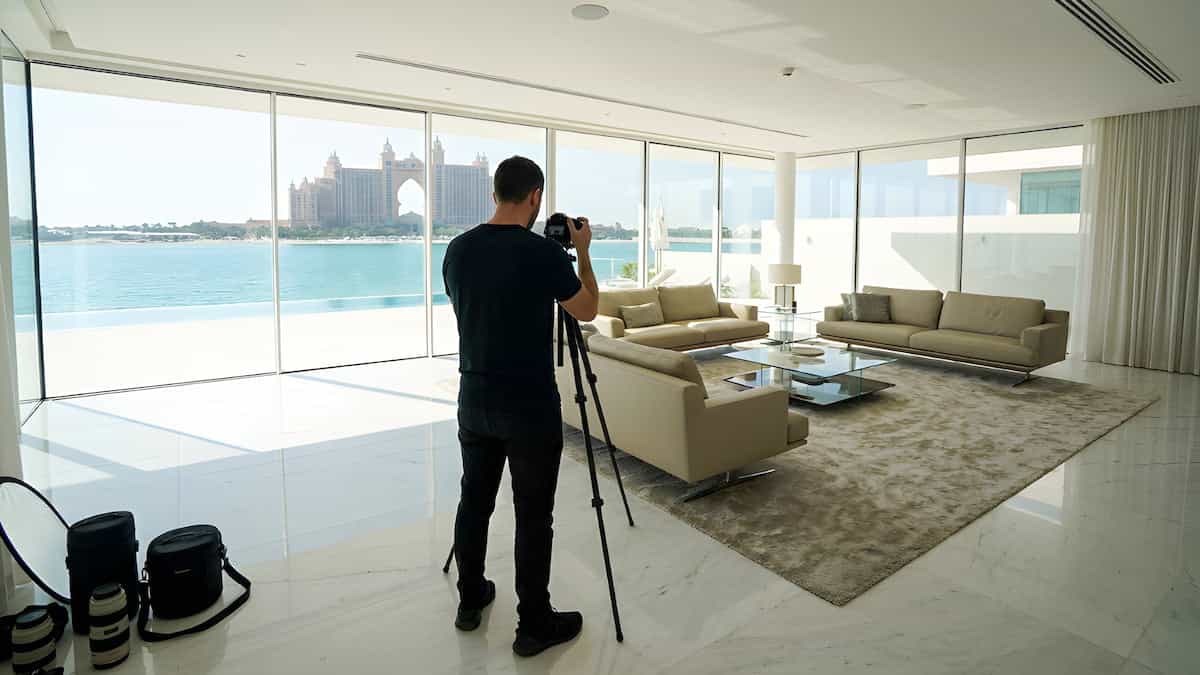
Hiring a Professional Photographer vs. DIY
If your budget allows, hiring a professional photographer experienced in real estate or Airbnb photography can be a game-changer. They’ll bring expertise in lighting, angles, and editing, often delivering polished results that justify the cost (typically AED300-AED500 per session). However, with practice and the right equipment, DIY photos can be just as effective. Study top-rated Airbnb listings in your area for inspiration on composition and styling.
Common Mistakes to Avoid
Cluttered Spaces: A messy room screams neglect. Declutter ruthlessly.
Poor Lighting: Dark or overly shadowy photos make spaces look uninviting.
Over-Editing: Heavy filters or unrealistic colors can mislead guests.
Missing Key Areas: Don’t skip photos of bathrooms or outdoor spaces; guests want the full picture.
Low-Resolution Images: Aim for at least 2000 pixels on the longest side for sharp, clear photos.
Final Thoughts on Airbnb Photography / Holiday Homes Photography
Great Airbnb photos are an investment in your listing’s success. They tell a story, evoke emotion, and build trust with potential guests. Whether you’re shooting with a smartphone or hiring a professional Airbnb photographer, focus on clarity, authenticity, and appeal. Take the time to stage, shoot, and edit thoughtfully, and your listing will shine in a crowded marketplace.
Ready to snap some photos? Grab your camera, let the light in, and start capturing your space’s unique story.
Keep in touch to know more about Airbnb photography: +971 56 287 4972 | info@gvgdesign.com
Frequently Asked Questions on Airbnb Photography
1. Why are high-quality photos important for my Airbnb listing?
High-quality photos attract more guests and can increase bookings by up to 40%, according to Airbnb. They create a strong first impression, build trust, and allow guests to visualize their stay, often justifying higher rates.
2. Do I need a professional camera for Airbnb photos?
No, you don’t need a professional camera. A modern smartphone with a good camera (e.g., iPhone 16 or Samsung Galaxy S25) can produce great results. But you will need a good photo editor to make it quality images.
For better control, a DSLR or mirrorless camera with a wide-angle lens (16-35mm) is ideal.
3. Should I hire a professional photographer?
Hiring a professional can yield polished results, especially if they specialize in real estate or Airbnb photography. It typically costs AED300-AED500 per session. However, with practice, DIY photos using a smartphone or camera can be just as effective.
4. What equipment do I need for DIY Airbnb photography?
Camera or Smartphone: For sharp images.
Tripod: For stability, especially in low light.
Wide-Angle Lens: If using a camera, 16-24mm is best for interiors.
Lighting: Natural light is key, but softbox or ring lights can supplement.
Editing Software: Adobe Lightroom/Photoshop, Photopea, or Snapseed for post-processing.
5. How should I stage my space for photos?
Declutter thoroughly, removing personal items and excess furniture. Add inviting touches like fresh flowers, neatly arranged bedding, or a bowl of fruit in the kitchen. Keep it clean and minimal but cozy to appeal to guests.
6. What’s the best time to shoot photos?
Shoot during the day with natural light, ideally in the early morning or late afternoon when the light is soft. Avoid harsh midday sun, which can create strong shadows.
7. How many photos should I include in my listing?
Aim for 20-30 high-quality photos covering all key areas: living room, bedrooms, bathrooms, kitchen, and outdoor spaces. Include multiple angles to give a complete view of the property.
8. Should I use a wide-angle lens?
Yes, a wide-angle lens (16-24mm) makes rooms appear spacious. However, avoid extreme wide-angle shots that distort the space, as they can look unnatural or misleading.
9. What areas of my property should I photograph?
Capture every guest-accessible area: bedrooms, bathrooms, living spaces, kitchen, dining areas, and outdoor spaces like patios or gardens. Include at least one exterior shot to show the property’s context.
10. How can I make my photos stand out?
Highlight unique features like a fireplace, scenic view, or cozy nook. Use natural light, shoot from corners to maximize space, and edit photos to enhance brightness and colors without overdoing it.
11. Can I edit my photos, and how much is too much?
Editing is essential to enhance brightness, contrast, and colors, but avoid over-editing. Don’t alter the space’s true appearance, as this can lead to guest disappointment and negative reviews. Use tools like Adobe Lightroom or free apps like Snapseed.
12. What are common photography mistakes to avoid?
Blurry or low-resolution images (aim for at least 2000 pixels on the longest side).
Dark or poorly lit photos that make spaces look uninviting.
Cluttered or messy rooms.
Skipping key areas like bathrooms or outdoor spaces.
Over-editing with heavy filters or unrealistic colors.
13. How do I ensure my photos are honest?
Show your space as it is. Avoid removing permanent fixtures in editing or staging the space in a way that can’t be replicated during a guest’s stay. Transparency builds trust and prevents negative feedback.
14. Can I use my photos for other platforms?
Yes, as long as you own the photos or have permission from the photographer. Check with your photographer if they retain rights to the images. Ensure the photos comply with other platforms’ guidelines.
15. How often should I update my Airbnb photos?
Update photos whenever you make significant changes to your space, like renovations or new furniture. Seasonally refreshing photos (e.g., showing a garden in bloom) can also keep your listing appealing.
FAQ – Airbnb Photography in Dubai
1. Why should I hire a professional Airbnb photographer in Dubai?
Professional photography makes your listing stand out, attracts more guests, and can increase bookings by up to 40%. High-quality images showcase your property’s best features, helping you compete in Dubai’s busy short-term rental market.
2. What’s included in an Airbnb photoshoot package?
A standard package typically includes:
✔ High-resolution, edited images (15-30 photos)
✔ Interior & exterior shots
✔ Lifestyle & detail shots (e.g., amenities, views)
✔ Fast turnaround (24-48 hours for edits)
✔ Optional: Virtual tours, aerial (drone) photography, or twilight shots
3. How much does Airbnb photography cost in Dubai?
Prices vary based on property size and add-ons, but typically range from AED 300–600+. Larger villas or premium services (like drone shots) may cost more.
4. How long does a photoshoot take?
Most shoots take 1–2 hours, depending on the property size and the number of shots needed.
5. Do I need to prepare my property before the shoot?
Yes! To ensure the best results:
Clean & declutter every room
Turn on all lights & open curtains
Style key areas (e.g., fluffed pillows, set dining table)
Remove personal items
6. Can you help with photo optimization for Airbnb’s algorithm?
Absolutely! We follow Airbnb’s best practices, including:
Bright, well-composed images
Highlighting unique selling points (e.g., Burj Khalifa views, private pool)
Properly sequenced photos to maximize guest interest
7. Do you offer virtual tours or video services?
Yes! We provide virtual tours, 360° photos, and promotional videos to enhance your listing and attract more guests.
8. How soon can I get my edited photos?
Most clients receive their finalized, high-resolution images within 24–48 hours after the shoot.
9. Do you cover areas outside Dubai?
Yes! We serve Abu Dhabi, Sharjah, and other UAE emirates (travel fees may apply).
10. How do I book a shoot?
Simply contact us via WhatsApp/email, share your property details, and we’ll schedule a session at your convenience!

Leave A Comment